How to automate your Next.js blog with auto publishing
Save yourself hours every week by letting your stack handle the busywork. Next.js blog automation turns drafting, scheduling, and publishing into a repeatable flow so you can focus on building.
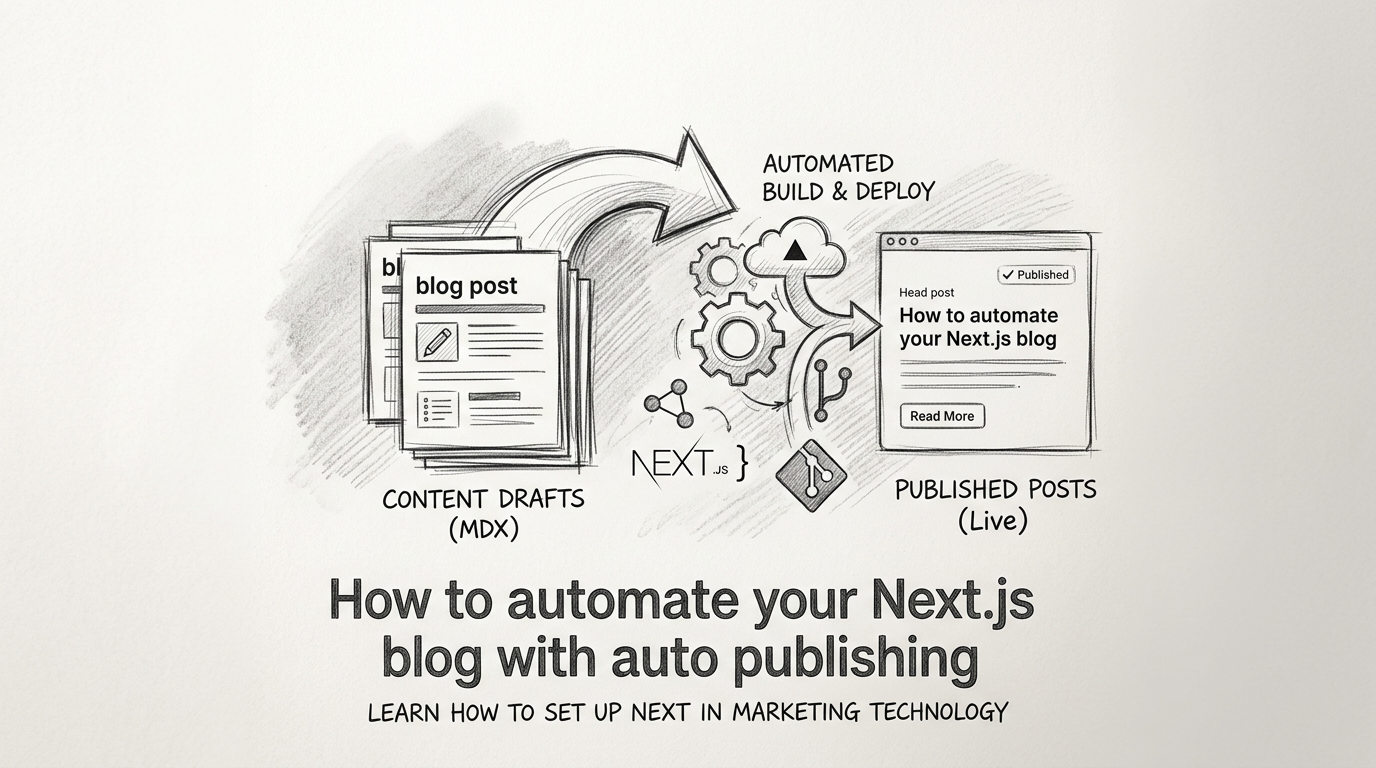
In this guide, you will learn how Next.js blog automation works, the core building blocks to implement it, practical code examples for scheduling and auto-publish, and tool options from DIY to fully automated systems. The key takeaway: set up a simple pipeline once and let content go live reliably without manual steps.
What is Next.js blog automation?
Next.js blog automation is the practice of generating, scheduling, and publishing posts with minimal manual effort. It combines content sources, build hooks, and CMS triggers to publish consistently.
Why it matters for side hustles and small teams
- Consistency drives compounding SEO results.
- Less context switching between coding and writing.
- Faster time to index with predictable release cadence.
Core pieces of an automated setup
- A content source such as a headless CMS or Markdown repo.
- A trigger to publish on a schedule or event.
- A build pipeline to regenerate pages.
- A deployment step that refreshes your sitemap and pings search engines.
Architectural patterns for automation
There are several reliable ways to wire an automated blog for Next.js. Your choice depends on team size, budget, and how often you publish.
Pattern 1: Headless CMS with scheduled publish
Use a CMS like Contentful, Sanity, or WordPress headless. Authors schedule a publish date, the CMS fires a webhook, and your site rebuilds automatically.
- Pros: Nontechnical workflow, granular drafts, image management.
- Cons: CMS cost, schema maintenance.
Pattern 2: Git based Markdown with CI scheduler
Posts live as Markdown in a repo. A cron job or CI schedule commits or merges content, triggering a build.
- Pros: Version control, low cost, developer friendly.
- Cons: Requires Git literacy, less friendly media handling.
Pattern 3: API generated content with queue
A script hits an API to generate content, stores drafts, then enqueues scheduled releases. A serverless job promotes drafts to published and triggers a rebuild.
- Pros: Fully automated once configured, flexible.
- Cons: Requires orchestration and guardrails for quality.
Next.js build modes and what to choose
Choosing the right rendering strategy impacts speed and how automation behaves.
SSG with Incremental Static Regeneration (ISR)
Pre render posts and revalidate on a timer. Great for predictable traffic and SEO. Pair with webhooks to invalidate stale pages quickly.
- Use getStaticPaths for slugs and getStaticProps for post data.
- Set revalidate to refresh content periodically.
SSR for draft previews and gated content
Server render for authenticated previews or when you need up to the minute accuracy. Combine SSR for preview routes with SSG for public posts.
App Router vs Pages Router
- App Router offers file based routing with Server Components and Segment Config. ISR works via fetch cache options and revalidate.
- Pages Router remains solid for established projects using getStaticProps and revalidate.
Step by step: schedule and auto publish with a CMS
This walkthrough shows a pragmatic setup using a headless CMS, webhooks, and a hosting platform like Vercel.
1) Define your post model
Create fields: title, slug, excerpt, content, coverImage, tags, status, and publishAt. Add SEO fields like metaTitle and metaDescription.
2) Add scheduled publish
Enable scheduled publishing in your CMS. Editors pick a future date and time in UTC. On publish, the CMS should fire a webhook to your deployment.
3) Wire the webhook to rebuild
- Create an API route in Next.js to receive CMS events.
- Verify signatures to prevent spoofed calls.
- Call the Vercel deployment hook or revalidate specific paths.
Example API route to revalidate a post path:
// app/api/revalidate/route.ts (App Router)
import { NextRequest, NextResponse } from 'next/server'

export async function POST(req: NextRequest) {
  const secret = process.env.REVALIDATE_SECRET
  const sig = req.headers.get('x-signature')
  if (!sig || sig !== secret) return NextResponse.json({ ok: false }, { status: 401 })

  const { slug } = await req.json()
  try {
    await fetch(`${process.env.VERCEL_REVALIDATE_URL}/?path=/blog/${slug}&secret=${secret}`)
    return NextResponse.json({ revalidated: true })
  } catch (e) {
    return NextResponse.json({ revalidated: false }, { status: 500 })
  }
}
4) Implement ISR for posts
Use revalidate to keep pages fresh while remaining static for speed.
// app/blog/[slug]/page.tsx
import { fetchPostBySlug } from '@/lib/cms'

export const revalidate = 60 // seconds

export default async function PostPage({ params }: { params: { slug: string } }) {
  const post = await fetchPostBySlug(params.slug)
  return (
    <article>
      <h2>{post.title}</h2>
      <p>{post.excerpt}</p>
      <div dangerouslySetInnerHTML={{ __html: post.html }} />
    </article>
  )
}
5) Automate sitemap updates
Regenerate sitemap.xml on build or on demand when a post publishes. Store lastmod per URL and cache headers for speed.
// app/sitemap.ts
import { fetchAllSlugs } from '@/lib/cms'

export default async function sitemap() {
  const slugs = await fetchAllSlugs()
  const base = process.env.NEXT_PUBLIC_SITE_URL!
  return slugs.map((slug) => ({
    url: `${base}/blog/${slug}`,
    lastModified: new Date(),
    changeFrequency: 'weekly',
    priority: 0.7,
  }))
}
DIY automation with Git and GitHub Actions
If you prefer Markdown in a repo, you can still schedule and auto publish without a CMS.
Scheduled release branches
- Draft posts in a drafts folder.
- A GitHub Action moves ready files into content on a schedule and commits.
- The commit triggers a Vercel or Netlify build.
Example workflow to promote drafts daily:
name: Promote drafts
on:
  schedule:
    - cron: '0 8 * * *' # 08:00 UTC daily
jobs:
  promote:
    runs-on: ubuntu-latest
    steps:
      - uses: actions/checkout@v4
      - name: Move dated drafts
        run: |
          sh scripts/promote.sh
      - name: Commit changes
        run: |
          git config user.name 'bot'
          git config user.email 'bot@example.com'
          git add -A
          git commit -m 'Promote scheduled posts' || echo 'No changes'
      - name: Push
        run: git push
Draft metadata and safety checks
Add frontmatter fields like publish_at and status. Your promote.sh reads the date, moves files only when publish_at <= now, and lints for missing fields.
Auto indexing and SEO hygiene
Automation should not stop at the publish button. Wire tasks that improve discoverability each time a post goes live.
Essentials to include in your pipeline
- Update sitemap.xml with lastmod values.
- Ping indexing APIs where applicable.
- Generate structured data with Article schema.
- Produce an RSS or Atom feed for syndication.
Helpful content signals
- Clear headings, short paragraphs, and descriptive alt text.
- Internal links to related posts and product pages.
- Canonicals to avoid duplicate paths.
Adding AI to the workflow responsibly
AI can ideate topics, draft outlines, and even produce full posts, but it needs guardrails.
Quality controls that keep trust high
- Maintain a voice guide and examples for tone.
- Require human review before publish for facts and claims.
- Use a checklist for sources, links, and product accuracy.
Where AI automation fits best
- Idea generation from your sitemap and search console queries.
- Outlines with H2 and H3 suggestions and internal link targets.
- First drafts that editors refine to add depth and specificity.
Tool options to automate a Next.js blog
Below is a concise comparison of common approaches and tools for Next.js blog automation.
This table compares setup effort, scheduling, and publishing flow.
| Approach | Setup effort | Scheduling | Auto publish | Notes |
|---|---|---|---|---|
| Headless CMS + webhooks | Medium | Built in | Yes via webhook | Great balance for most teams |
| Git Markdown + CI | Low | CI cron | Yes via build | Dev friendly, cheap |
| Full AI system | Low | Built in | Yes | Fastest from zero to consistent posts |
This table compares hosting and deployment triggers.
| Platform | Build triggers | ISR support | Revalidate APIs |
|---|---|---|---|
| Vercel | Webhooks, Git push | Yes | Yes via on demand revalidation |
| Netlify | Webhooks, Git push | Partial | On demand builders and cache APIs |
| Render | Git push, cron | Manual | Custom routes and cache control |
Next.js blog automation for Shopify, WordPress, and more
If your Next.js site backs an ecommerce or CMS powered stack, you can still automate cleanly.
Shopify storefronts
- Use Storefront API for product data and a separate CMS for blogs.
- Auto link related products per tag to turn traffic into revenue.
WordPress as headless
- Use the REST API or GraphQL for posts and pages.
- WordPress schedules publish; Next.js webhook revalidates affected routes.
Common pitfalls and how to avoid them
Automation is only helpful when it is reliable. Watch out for these issues.
Broken revalidation
If routes do not update, verify that your webhook calls the correct path and that the secret matches. Log request payloads and add retries with exponential backoff.
Time zone drift on schedules
Standardize on UTC for publishAt and convert for UI display only. Test daylight saving transitions with fixtures.
Content quality decay
Even with AI, enforce editorial reviews, run link checkers, and score readability. Automate guardrails, not just output.
Maintenance checklist for a healthy pipeline
Use this short checklist monthly to keep your Next.js blog automation solid.
Monitoring and alerts
- Alert on failed webhooks and build errors.
- Track time from publish to live and keep it under a few minutes.
Performance and SEO
- Audit Core Web Vitals on post templates.
- Validate schema.org markup using testing tools.
- Ensure RSS and sitemap endpoints return 200 and current data.
Key Takeaways
- Pick a pattern that matches your workflow and skills, then automate one step at a time.
- Use webhooks and ISR to keep content fresh without manual rebuilds.
- Update sitemap.xml and structured data on every publish for faster indexing.
- Add light AI support with strict review to keep quality high.
Set up the pipeline once, and your Next.js blog will publish on schedule while you focus on building the business.
Frequently Asked Questions
- What is Next.js blog automation?
- A workflow that generates, schedules, and publishes posts with triggers and builds so new articles go live without manual steps each time.
- Do I need a CMS to automate a Next.js blog?
- No. You can use a headless CMS, Git plus CI schedules, or an API driven queue. Each approach can trigger builds and revalidation.
- How do I keep pages fresh after publishing?
- Use ISR with on demand revalidation. Trigger a webhook from your CMS or CI to revalidate the changed post and the blog index.
- How can I update sitemap.xml automatically?
- Generate sitemap.xml from your post data at build time or via a Next.js route, and run it after publish so search engines see updates.
- Is AI generated content safe for SEO?
- Yes if reviewed. Keep facts accurate, cite sources, and maintain brand voice. Use AI for drafts and outlines, then edit before publishing.
Want this for your side hustle?
AutoBlogWriter writes, optimizes, and publishes blogs like this one automatically. 3-day free trial, no credit card needed.
Start Free Trial →